Storm Damage and Your Roof: How to Handle Insurance Claims
Living in the
Austin and
Round Rock areas, Texas residents are no strangers to the sudden and fierce storms that sweep through our region. The notorious
hail damage
and strong winds can wreak havoc on our rooftops, leaving homeowners in a bind as they face the daunting task of roof repair or
replacement. When nature strikes, it’s important to know how to smoothly navigate the insurance claims process to ensure your roof is restored to its former glory or better. Here’s your step-by-step guide to handling storm damage insurance claims.
Step 1: Assess the Damage
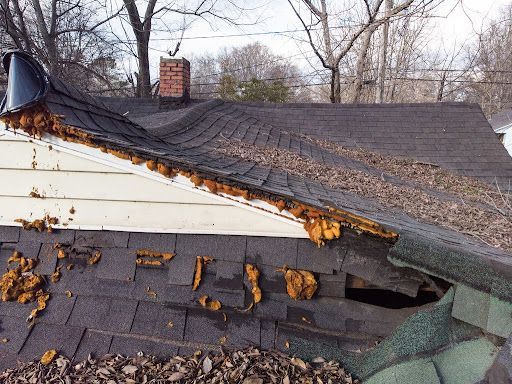
When faced with the aftermath of a severe
Central Texas storms, your first step is to conduct a thorough assessment of your roof. To assist with this process, we’ve compiled a helpful checklist that ensures you cover all the necessary points:
- Safety First: Verify that it is safe to inspect your roof and avoid climbing onto it if there are any safety concerns.
- From the Ground: Walk around your home’s perimeter and look for obvious signs of roof damage, such as missing shingles or metal fascia that may have been dislodged.
- Gutters and Downspouts: Check for an accumulation of shingle granules, which can indicate wear from hail or storm debris.
- Roof Deformation: Look for areas where the roof may appear sagging or deformed.
- Indoor Signs:
- Leaks or Water Stains: Inspect ceilings and attic spaces for water infiltration or stains which reveal potential roof breaches.
- Peeling Paint or Wallpaper: Notice areas that may be affected by moisture ingress.
- Daylight Through the Roof: From the attic, see if there’s any light coming through the roof boards.
- Mitigation Measures: Implement temporary emergency cover-ups such as tarps or waterproof covers to prevent additional water damage, taking care to only do so when it’s safe.
After thoroughly ticking off each item on the checklist, you will have a comprehensive understanding of your roof’s condition following the storm. For a professional evaluation, seek out the local experts who can perform a more in-depth assessment and spot issues that may not be visible to the untrained eye. Remember, it is this critical assessment that lays the groundwork for a successful insurance claim and eventual repair work.
Step 2: Document Everything
Take clear photos and videos of all Austin roof hail damage. This visual evidence will be critical when filing your claim and demonstrating the extent of storm damage. Be sure to include detailed notes on the date of the storm and the type of damage you have observed.
In addition to taking pictures and recording videos, create a detailed inventory of all damages. This documentation process is one of the most crucial steps in the insurance claim journey, as it establishes proof of the changes your roof has undergone due to the storm. Include a timestamp on your documentation, and if possible, compare the current state of the roof to previous images or inspection reports. This comparison could significantly strengthen your case with the insurance provider by illustrating the extent of the new storm damage.
Step 3: Review Your Insurance Policy
Understanding your home’s insurance policy is key. Make sure you are aware of any deductibles, coverage limits, and specific stipulations related to storm damage. If anything is unclear, reach out to your insurance agent for clarification.
Once you have meticulously documented the damage, the next crucial step is to have a comprehensive understanding of what your homeowner’s insurance policy covers, especially with regard to storm and hail damage. Policies vary widely, and coverage for roof repairs or replacement can differ significantly based on specific clauses related to weather damage. Familiarize yourself with the terms such as “replacement cost” versus “actual cash value” as these will affect how much you can claim for your roof repairs. The replacement cost coverage generally provides for the repair or replacement of your roof at current market prices, while actual cash value takes depreciation into account and may lead to a lower payout.
It is equally important to recognize any specific requirements or stipulations in your policy that pertain to storm damage claims. Some policies might include a separate windstorm or hail deductible, which could be different from your general homeowners’ deductible. In areas like Austin and Round Rock where storms are frequent, understanding these distinctions within your coverage can make a significant difference in the event of a claim.
Step 4: File Your Claim Promptly
The sooner you file your claim, the better. Delays can often lead to further complications or denials of coverage. Contact your insurance company to initiate the claim, providing all necessary documentation and evidence you gathered.
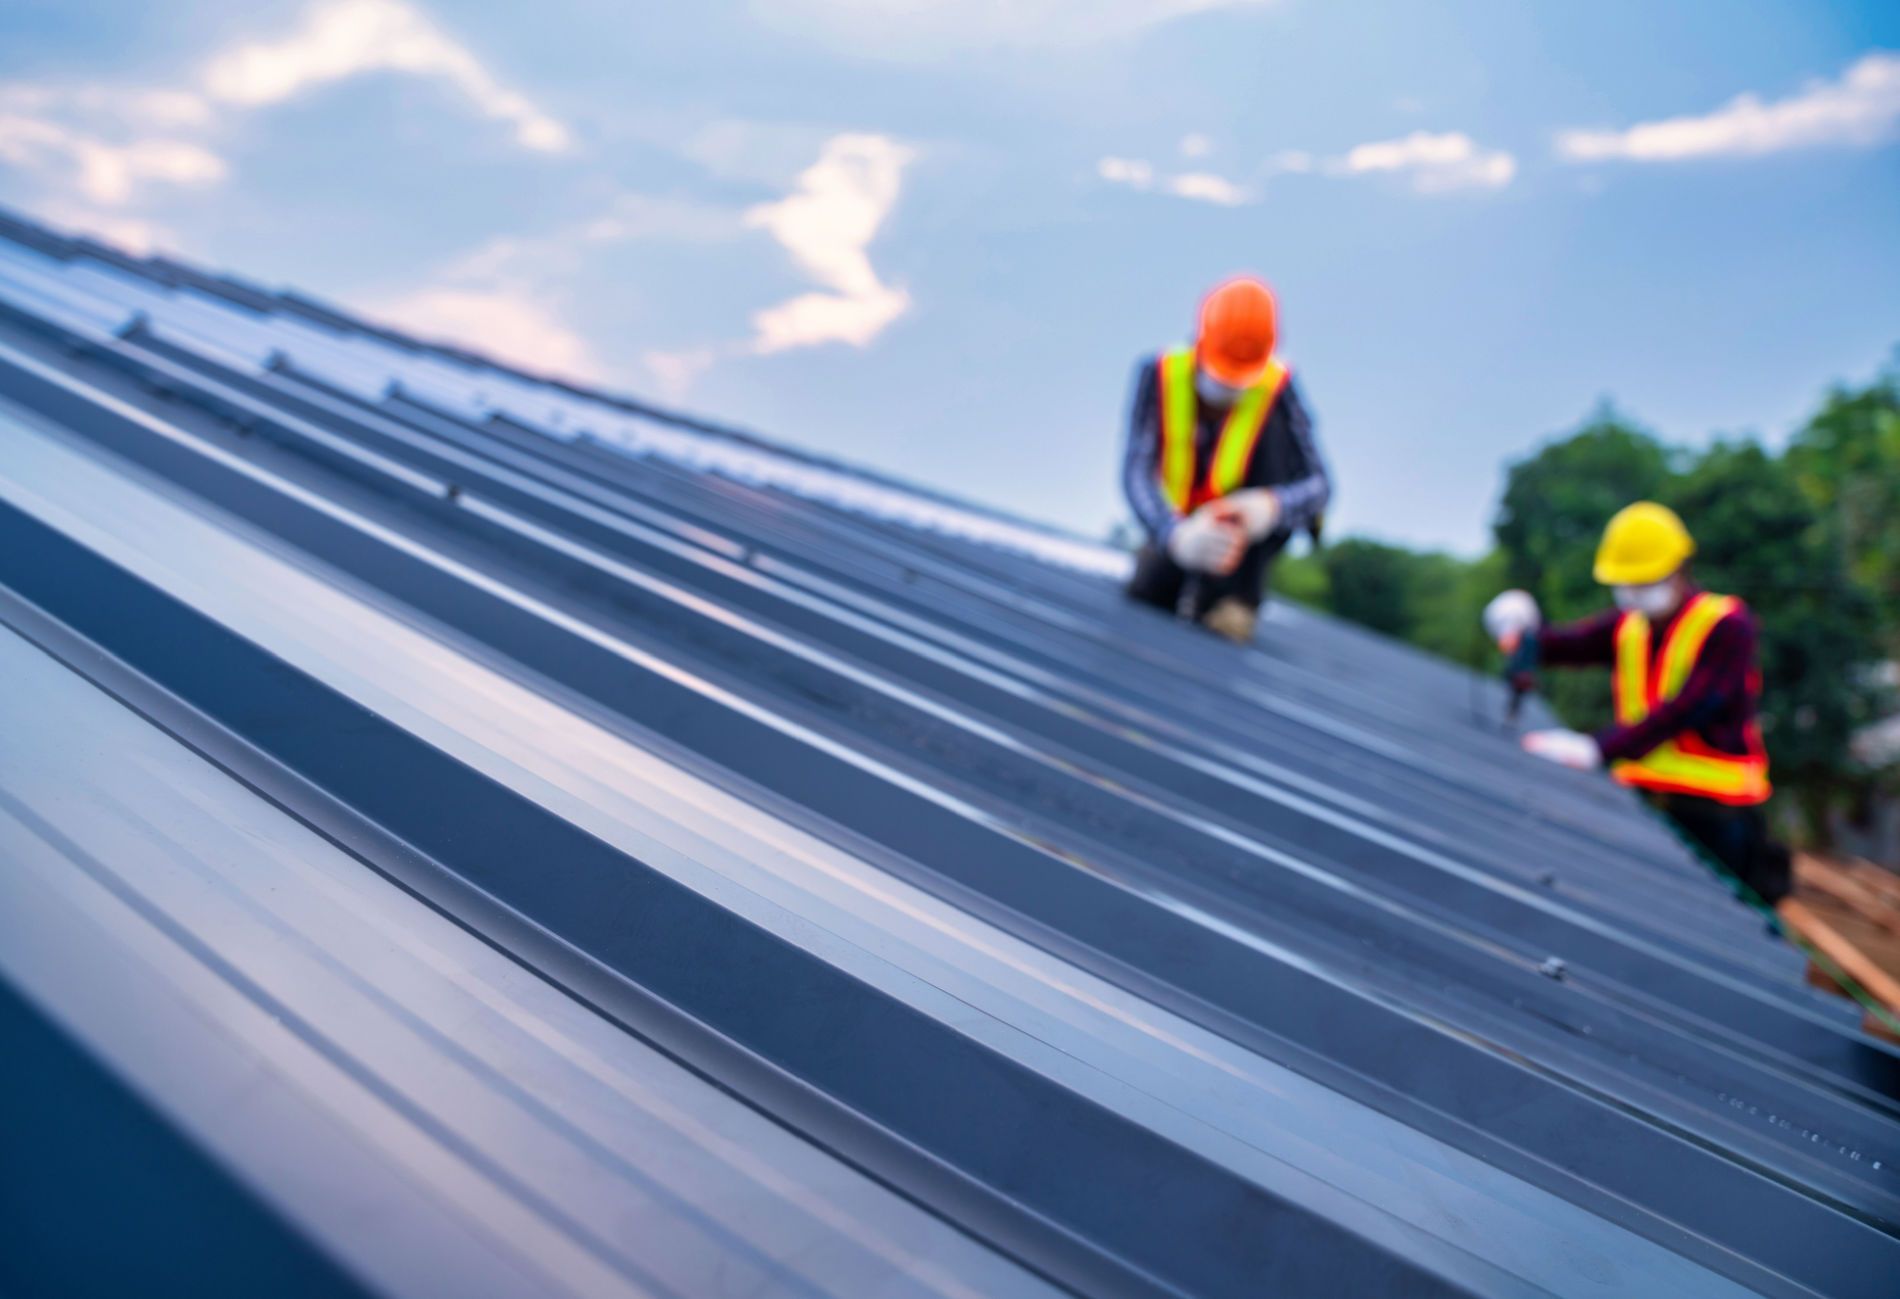
Step 5: Choose a Reliable Roofing Expert
When choosing a contractor to repair your storm-damaged roof, select a company renowned for its quality, such as Reliable Roofing. With our expertise in hail impact-resistant shingles, we can not only repair your roof but also offer a more resilient solution to protect your home from future Texas storms.
In the aftermath of a storm, identifying a reputable roofing contractor is integral. The right roofing expert will not only assess the damage accurately but will also guide you through the subsequent repairs, ensuring your roof is restored to optimal condition. When choosing a roofing professional, verify their licensure, insurance, and qualifications. It’s also smart to review customer testimonials and check for any accreditations from the Better Business Bureau or local trade associations.
Step 6: Get a Free Professional Inspection
To proceed with your insurance claim, a professional inspection report is necessary. To ensure nothing is missed, here is a bulleted list of what this inspection should cover:
Structural Inspection:
- Check the roof for signs of sagging or unevenness
- Examine rafters and trusses for integrity and strength
Material Inspection:
- Look for missing, broken, or torn shingles
- Inspect the condition of roofing materials for cracks, dents, or bruising, particularly in areas hit by hail or flying debris
- Evaluate the state of flashing around vents, chimneys, and skylights
Interior Inspection:
- Assess the attic for leaks, water staining, or mold growth
- Check insulation for dampness or deterioration
Workmanship Quality:
- Inspect the overall quality of previous installation or repair work
- Ensure that no shortcuts were taken that could compromise the roof’s integrity
- Verify proper sealing on all seams and joints
Systematic Damage Assessment:
- Assess damage in a methodical manner to ensure all areas of the roof are checked
- Provide documentation, including photos and descriptions, for each aspect of damage
Estimate for Repairs/Replacement:
- Offer a comprehensive estimate that details the costs associated with repairs or a full replacement
- Suggest materials and products such as hail-resistant shingles that are fit for your local weather conditions
Documentation:
- Compile a complete report for the homeowner to review
- Provide an official document for the insurance company with all necessary details included
Step 7: Communicate With Your Insurance Adjuster
An insurance adjuster will likely visit your home to assess the damage themselves. It’s advantageous to have your roofing contractor present during this evaluation to ensure all damage is noted and to advocate for a fair assessment.
Open and clear communication with your insurance adjuster is critical. Be on hand when the adjuster comes to inspect your property to discuss your concerns and the findings from the professional inspection. This collaboration ensures that all damage is accurately accounted for and that the adjuster receives a well-informed viewpoint on the necessary repairs, avoiding potential underestimates of the claim. With such expert guidance, your interests are well-represented, paving the way for a fair and comprehensive settlement from your insurance company.
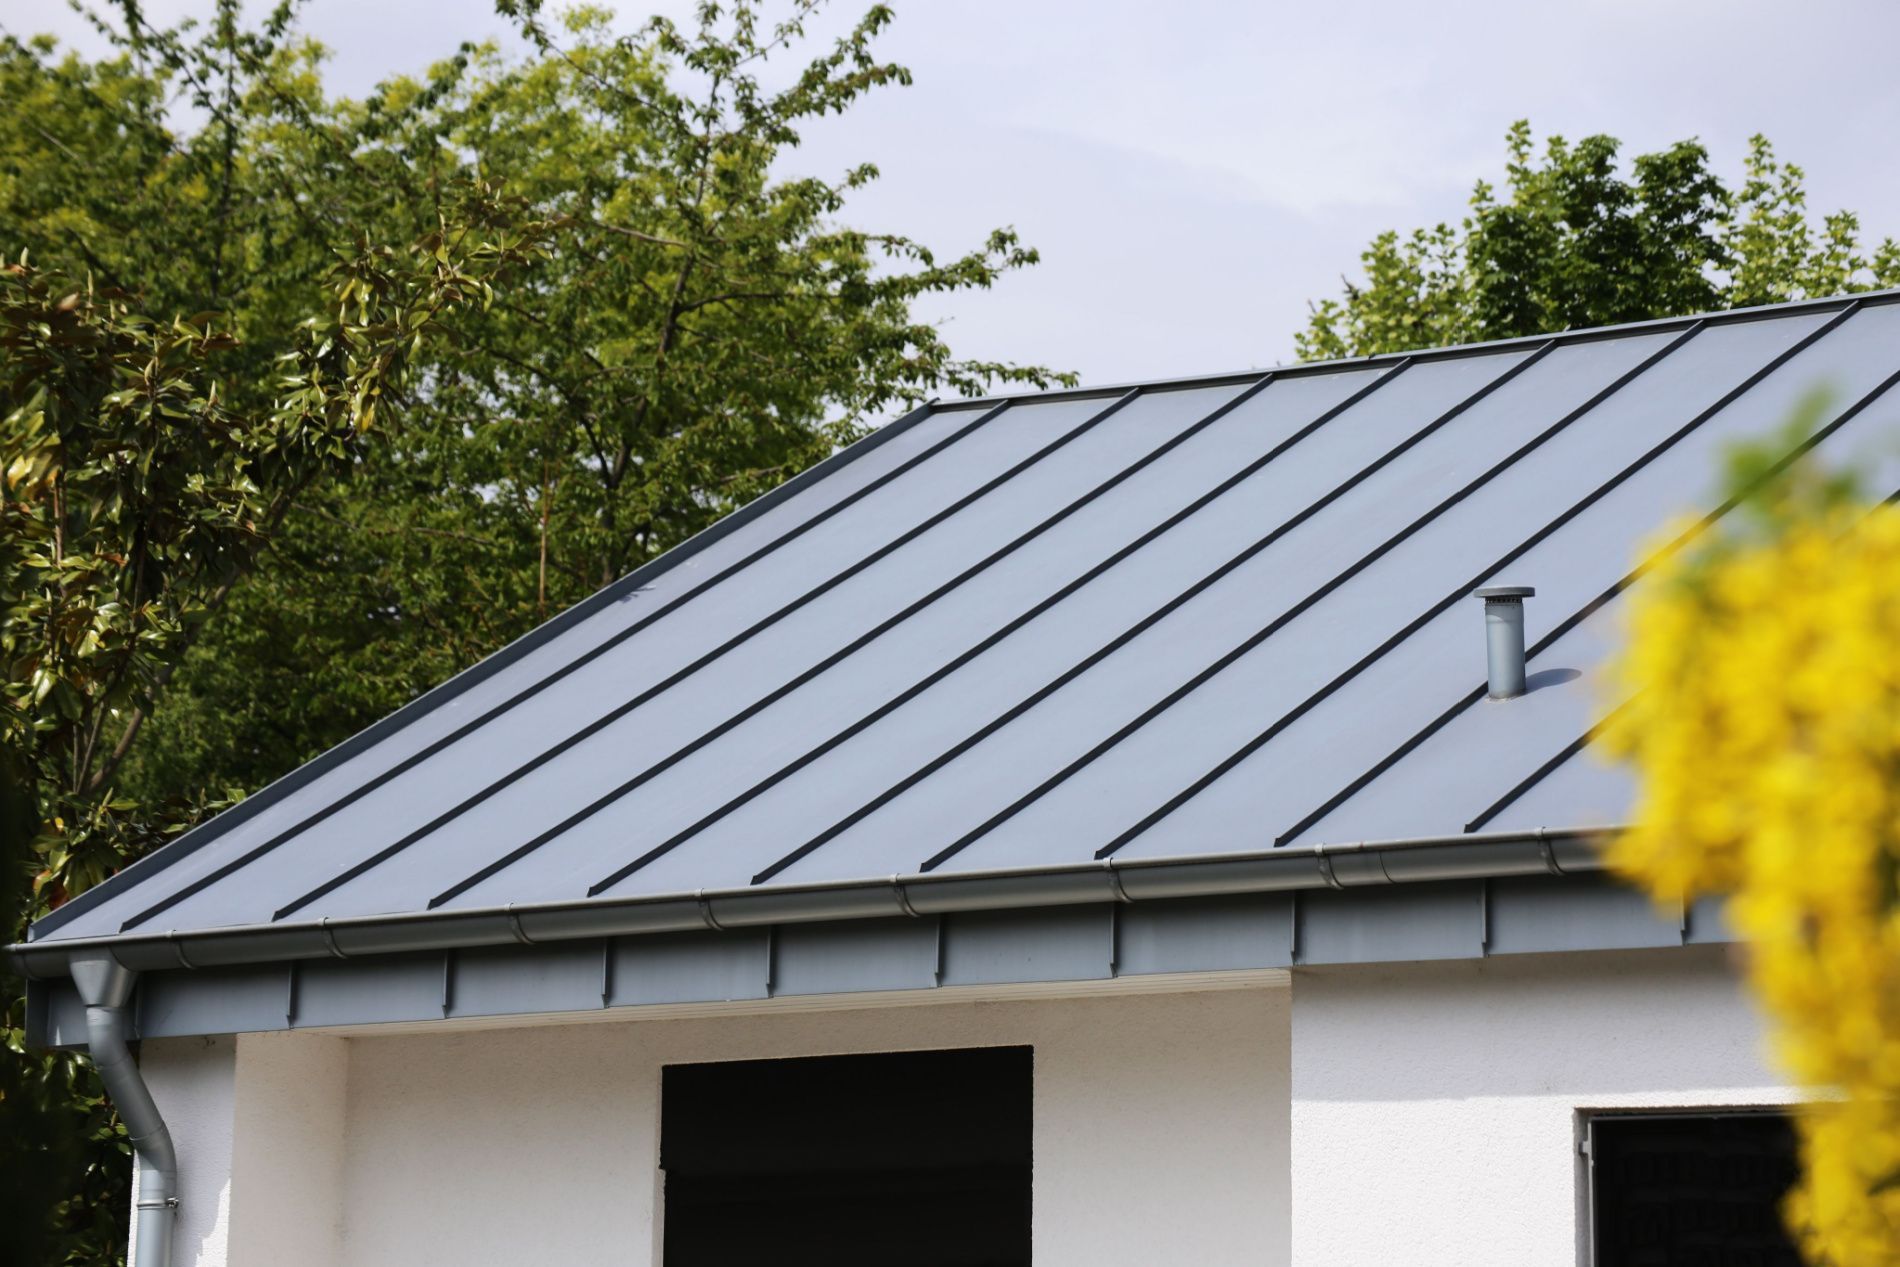
Step 8: Understand Your Options for Materials
While standard roofing materials can be less expensive, investing in top-quality roofing could be beneficial in the long run. If you’re in an area prone to hailstorms, for example, consider hail impact-resistant shingles, which are more durable and can withstand these severe weather conditions. These premium upgrades not only offer superior protection, but may also be covered by your insurance policy after a storm.
Making an informed decision about the materials used in your roof repair or replacement is not only about aesthetics but also about performance, especially in terms of withstanding the Texas weather. When you are working on a claim, this is the perfect time to consider upgrading to more durable materials that may prevent or reduce future damage.
Insurance companies often recognize the value of installing higher-grade materials, which can lead to discounts on premiums due to the decreased likelihood of repeat claims. Before making a final decision on your roofing materials, have a discussion with your insurer to understand if such upgrades can be covered by your claim and if they might offer long-term savings.
Step 9: Review the Insurance Company’s Offer
Carefully review the insurance company’s settlement offer to ensure it covers all necessary repairs. Don’t hesitate to negotiate or ask for a second opinion if the offer seems too low. Remember, it’s essential to have enough funds to adequately address all damage and protect your home.
Once your insurance provider extends an offer for the repair costs, it’s crucial for you to examine it meticulously, comparing it against the professional estimate provided by your roofing contractor. The initial offer from the insurance company may not always align with the actual repair needs. If the offer falls short of your expectations or the contractor’s estimate, it is within your rights to request a revised estimate or engage in further negotiations. Remember, your ultimate goal is to secure adequate funding to restore your roof to a condition that will protect your home and withstand future storms.
Step 10: Oversee the Repair Process
Once your claim is approved, be there to oversee the repair process. As the
roof repair work gets underway, maintaining an active role in the process is essential. Keep in regular contact with your roofing contractor to stay informed about the progress and to manage any unforeseen issues that may arise.
Step 11: Keep Detailed Records
Maintain a file with all receipts, correspondence, and claim documentation. These records are vital if you have any future issues or if the work requires a warranty service. To keep your roofing project well-documented and to ensure you’re prepared for any contingencies, adhere to the following checklist:
Insurance Claim Documents:
- Copy of the initial insurance claim filed
- Correspondence with the insurance company
- Insurance adjuster’s written assessment
- Final settlement offer from the insurance company
Financial Records:
- Receipts for any immediate repairs or emergency measures taken
- Detailed invoice from your roofing contractor
- Proof of payment for all repair services and materials
- Any receipts for related expenses incurred due to roofing damage
Contractor Correspondence:
- Signed contract or agreement with your roofing contractor
- Change orders or any adjustments to the original repair plan
- Written warranty information for both materials and craftsmanship
- Correspondence with the contractor regarding scheduling, questions, or concerns
Repair Documentation:
- Detailed estimate from the roofing contractor outlining the scope of work
- Before and after photos of the roof to show the damage and completed repair work
- Notes on material choices, specifically if you opted for hail impact-resistant shingles
- Any inspection reports or certifications provided post-repair
Maintenance Records:
- Schedule of completed maintenance visits
- Notes or recommendations from roofing technicians
Warranty Information:
- Manufacturer’s warranty documents for roofing materials
- Contractor’s warranty on the installation workmanship
Keep these documents organized in a dedicated file—digital folders and cloud storage are excellent for backing up physical copies. Having this complete set of detailed records will serve as a clear history of the storm damage restoration process and can support any potential warranty claims.
Ready to restore your roof to its former glory?
Contact us today for expert roof repair services in Austin and ensure your home stays safe and secure.

Get Your Free Roofing Inspection

Reliable Roofing is a Full-Service Commercial and Residential Roofing Company. Offering roof inspection, repair, and replacement services in Austin and surrounding communities.
Residential Services
Commercial Services
RESOURCES